 Sometimes I feel like I don’t give enough credit on this blog to my husband, Mike, making it seem like all the frugality in our household is done by me, and he’s just a bystander, but that really is not the case. He is willing to go along with nearly all of my frugal ideas, is on the same page with me in regards to the importance of living frugally, and even helps me out in some of my more annoying frugal ventures; he’s the one who rinses the poopy cloth diapers off before sticking them in the machine.
But yes, for the most part, its my husband spending the time and effort earning the money in this house, and myself spending the time and effort to make that money stretch further, and Mike going along with it. Occasionally, though, there are blog posts that are entirely his- all the inspiration comes from my discovering a cool money saving trick he’s been up to lately and wanting to share it with you.
This post is one of those.
Mike has a smartphone. Yes, I know, total luxury, but its one that Mike finds worth it. His call.
But the thing about smartphones is that since they’re so useful for so many things aside from just making phone calls, from browsing the internet to using apps to listening to the radio, their battery gets used up pretty quickly, and if you’re out all day and have no place to charge your phone, you might be stuck without any phone.
To deal with this issue, many cell phone stores sell portable cell phone chargers, which you charge to capacity while at home, and then when out and about, you plug your phone into these chargers and juice up your phone once again. Only these chargers are pretty expensive.
Mike decided to make his own portable charger, and it works just as well as a store bought one.
Now I just want to say that neither he nor I are electricians, nor mavens in cellular phone technology, so I can’t be sure that what I’m about to show you is safe for your phones and won’t void your warranty, I’m just sharing what he did, and then you can decide if you feel comfortable implementing this idea.
I want to apologize in advance for the fact that I don’t know any of the names of most of the equipment being used for this project- hopefully pictures and descriptions will be enough to help.
What You Need:
4 Rechargeable Batteries (and a charger to charge them in)
Something to hold those batteries with attached wires to make a circuit, like this.
The type of plug that fits in to your phone- just the part that attaches to the phone and a few inches of wire is necessary.
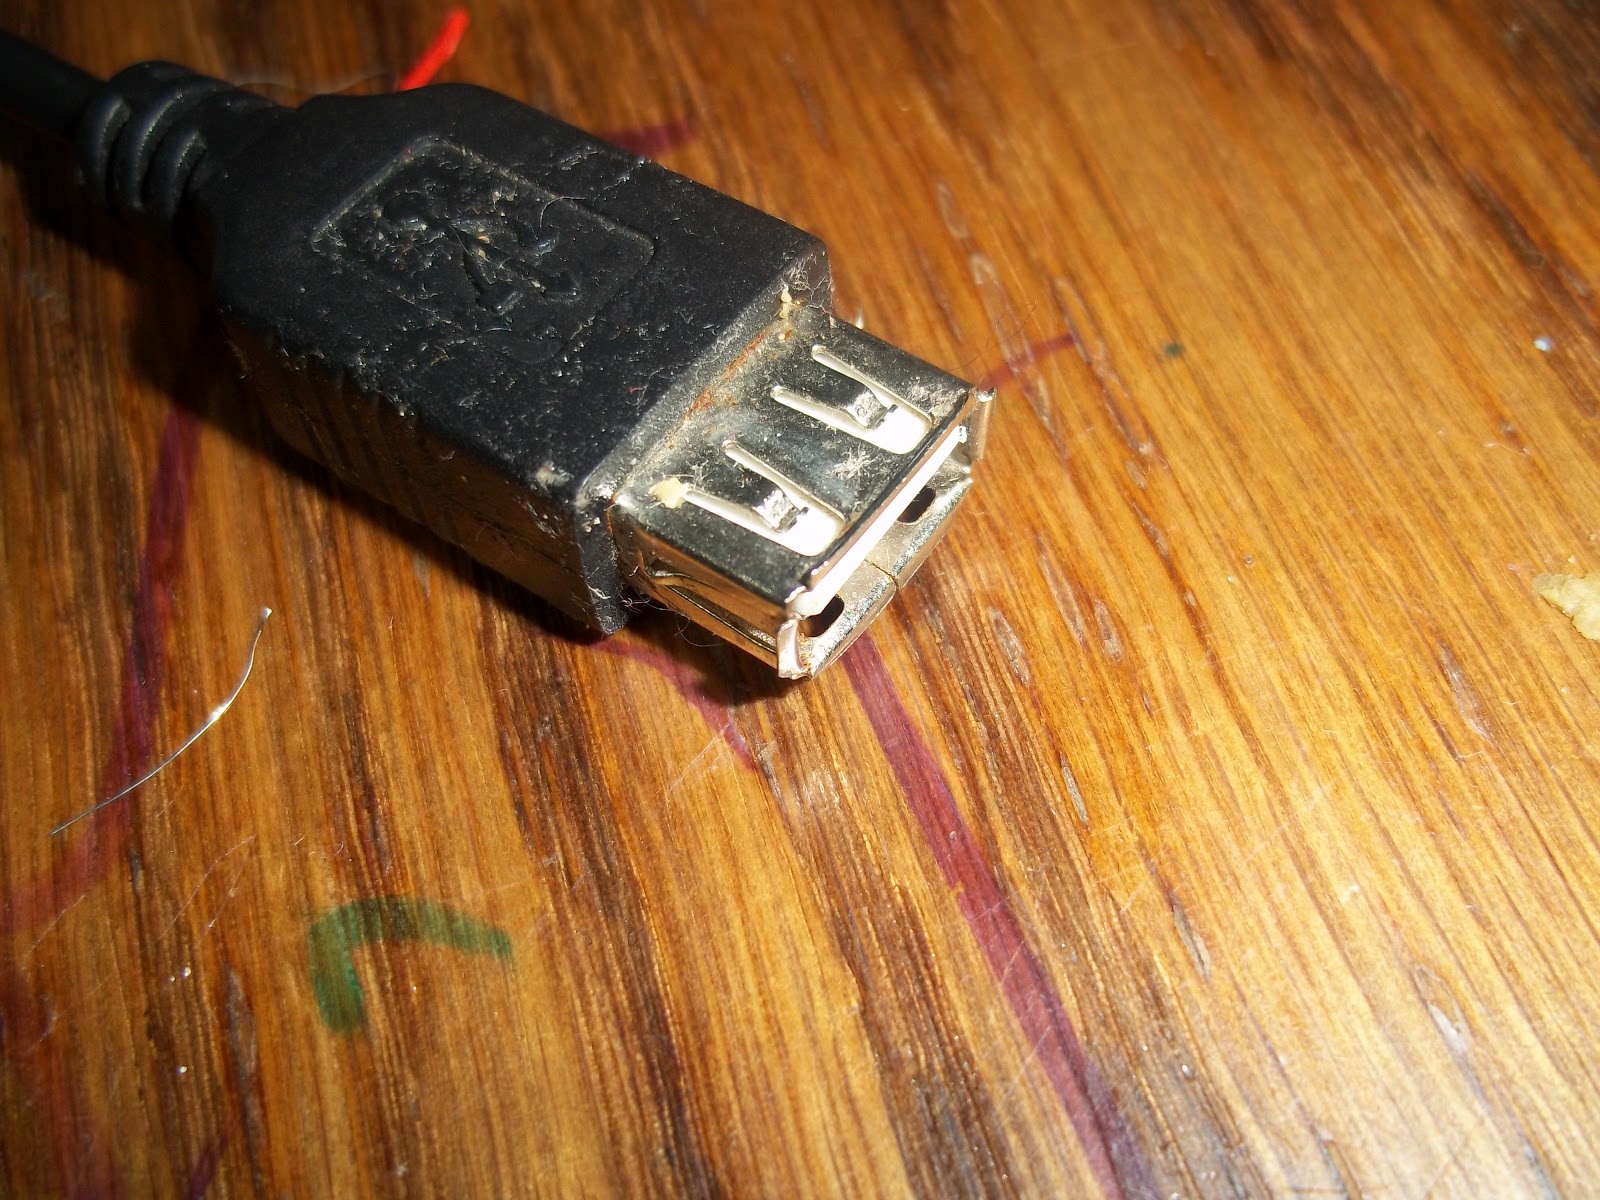
Or a USB port into which you can plug any wire with which you can charge your phone, making this a more universal charger.
Something to use to connect wires, ideally with screws, like this.
Wire cutters and strippers
Screw driver
Electrical tape
Glue gun
How to make it:
1. First, acquire the necessary equipment. Most of these things can be bought at any hardware store. The chargers can be purchased second hand or on ebay, or even retrieved from the trash.
2. On the phone plug or USB port, remove at least an inch or two of the plastic coating on the wire attached to it. You’ll see a red and a black plastic coated wire, and maybe possibly other wires. Cut off those other wires- you just want the red and the black.
3. Strip the red and black plastic off the ends of the wire.


4. Do the same on the wires leading from the battery holder. Remove the outer coating, then the bits of plastic coating the red and black wires.
5. You now want to use this little thingamabob to connect your wires.
6. Feed the black and red wires from the phone plug into the openings on the side- the red on the left opening and black on the right. Tighten with screws to hold the wires in place.
7. Feed the red and black wires from the battery holder into the holes on the other side, making sure that the black wire from the battery holder is matching up with and is on the same side as the black wire from the charger, and that the red is with the red. It’s very important to
clean any corrosion from previous batteries used with the holder. Tighten with screws.
8. Put in batteries, and plug in your phone. It should start charging. (This type of charger doesn’t work with every phone, I must say… If it doesn’t work, it’s probably your phone, not anything you did wrong.
9. If desired, reinforce this by putting hot glue into the thingamabob that holds the wires together, to seal them into place. Wrap the wires with electrician’s tape to keep them safe.
Yes, it’s not the most aesthetically pleasing charger- but it works, and makes it much more convenient than having your phone run out all the time, or spending a lot of money on a store bought personal charger.
Do you have a cell phone? Does it die often, or does it keep it’s juice?
Have you ever thought of purchasing a portable cell phone charger? Do you own one? Did you know you can make one at home yourself?
Have you ever played around with electronics like this before? What have you made with electronics?
Does this look like something you’d try out?
Any idea of the names of the various odds and ends used in this project?

 Sometimes I feel like I don’t give enough credit on this blog to my husband, Mike, making it seem like all the frugality in our household is done by me, and he’s just a bystander, but that really is not the case. He is willing to go along with nearly all of my frugal ideas, is on the same page with me in regards to the importance of living frugally, and even helps me out in some of my more annoying frugal ventures; he’s the one who rinses the poopy cloth diapers off before sticking them in the machine.


0 Responses
It is important to note that cell phone batteries and their chargers often have specific voltage and amperage requirements; be warned that using this charging method may damage your phone's battery, possibly permanently, and could void your warranty. In fact, I would recommend being very careful with this charging method unless you understand what I mean when I say "amperage" and have checked out your battery's specifications as well as the rechargeable battery source to make sure they won't cause one another to explode/corrode.
Thanks
Thanks
That was quite creative… Nice article.
That was quite creative… Nice article.
This comment has been removed by a blog administrator.